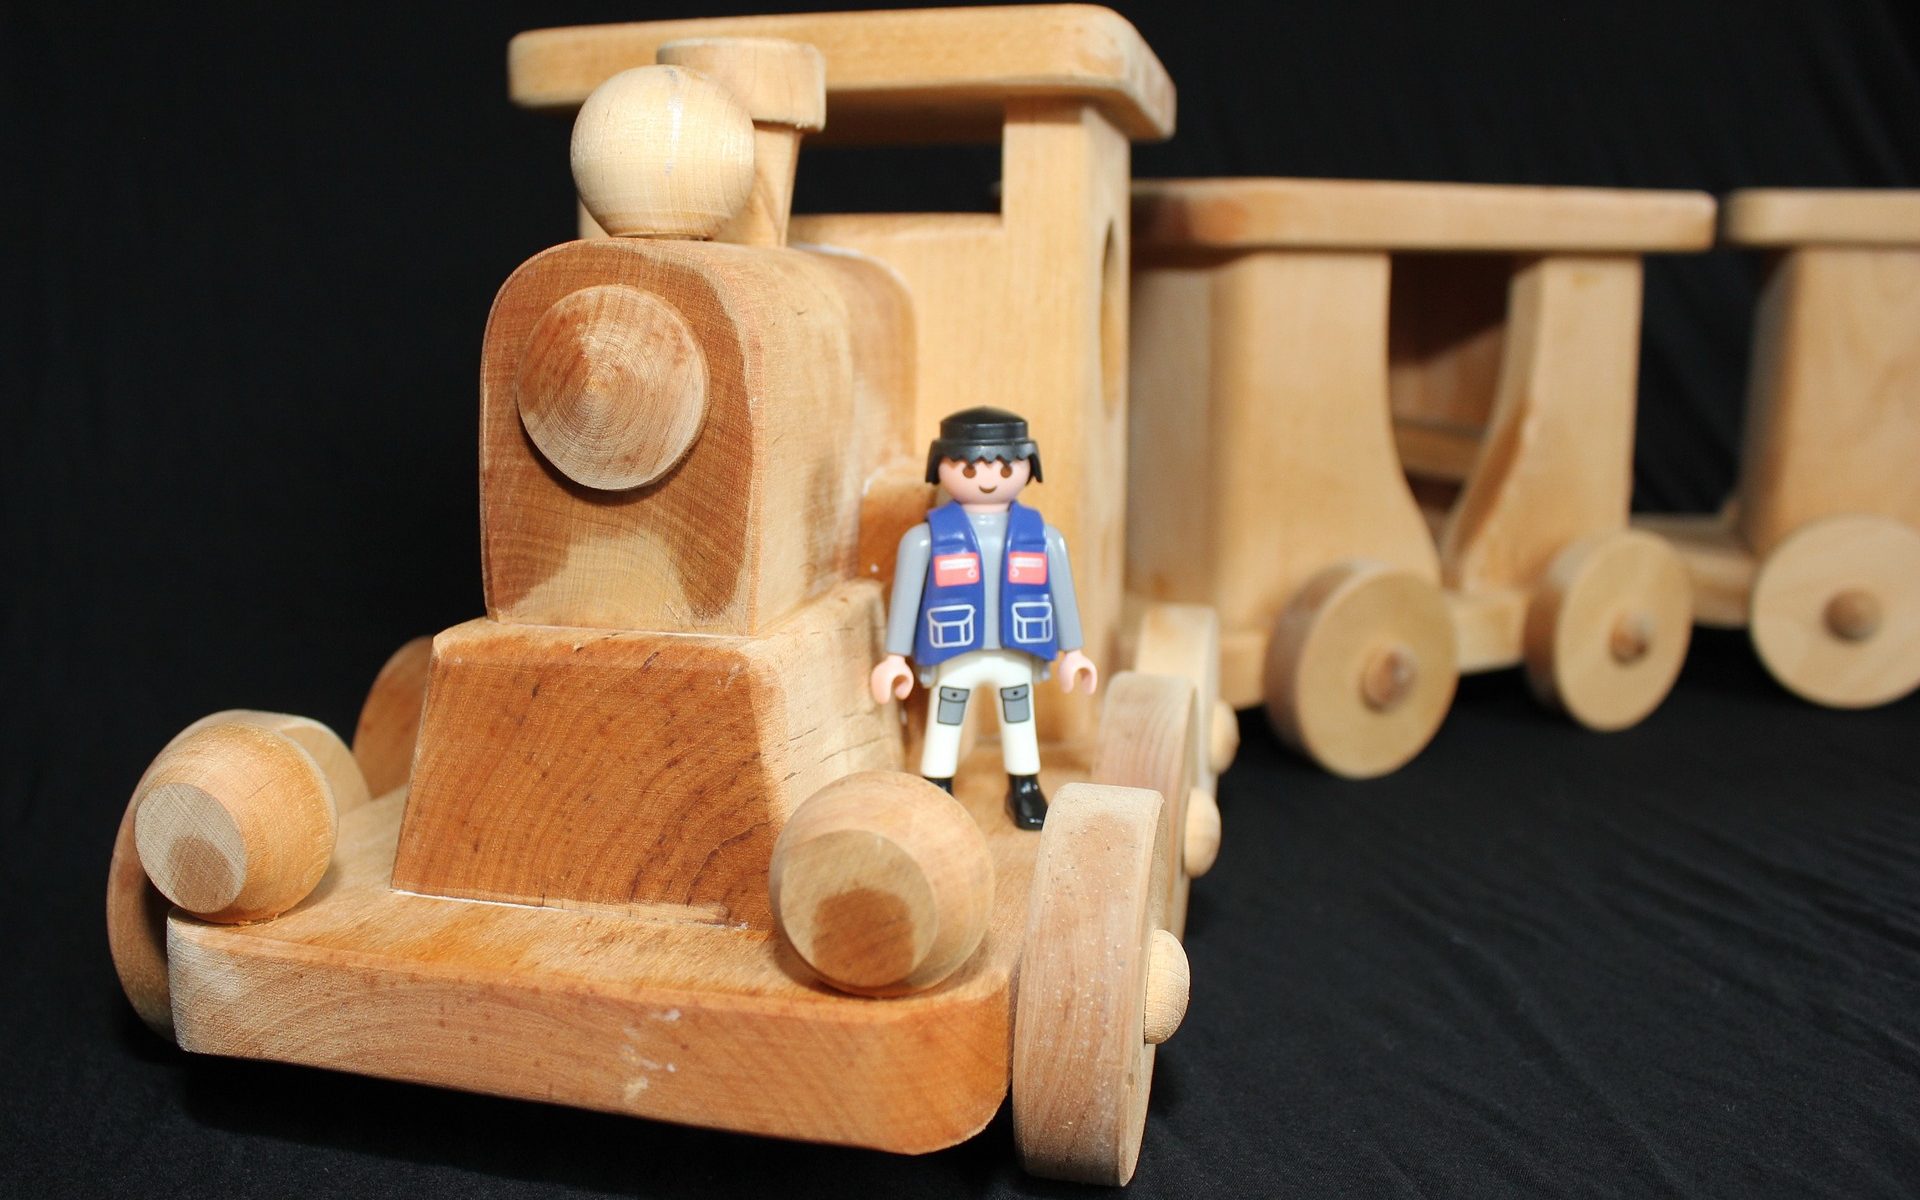
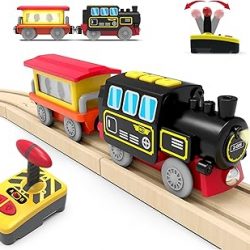
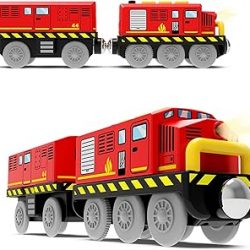
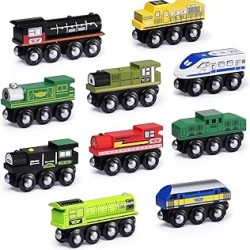
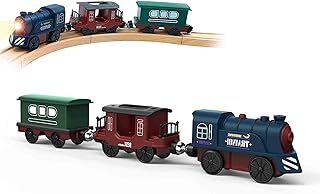
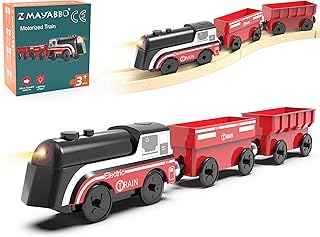
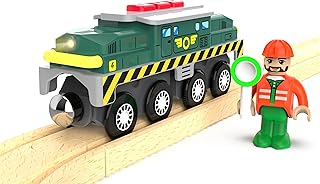
In this article, I’ve prepared more than 15 woodworking ideas you should consider before starting with any DIY about How to make your own Wooden Train Locomotive and Wagons. This is the second article of the series “How to Make your Wooden Train Set? : Choose your Options”.
The steps of making a wood engine and wagons generally are making each of their parts, like:
-
- The Boiler
- The chimneys
- The baseplate
- The Wheels
- The Cab
- The Coupling
- The wagons cabine
This is the second article of the series and covers general topics putting the focus on the big picture.
Other articles are:
- How to Make your Wooden Train Set? : Choose your Options
- How to Make Wooden Train Tracks and Layouts? : Choosing your Options.
- How to make a Wooden Train Whistle and a Wooden Train Table? : Choosing your Options
They present a lot of alternatives to think on before following your preferred DIY or Tutorial.
If you prefer to buy…
More Unfinished Wood Train Parts
-

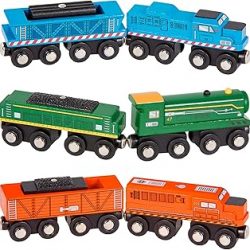
inc. Wooden Train Engines and Cars, Rolling Locomotive Engines with Magnetic Links for Pulling Wooden Rail Cars, Compatible with Major Brand Wooden Railway, 6 Pcs Set
View Detail... -

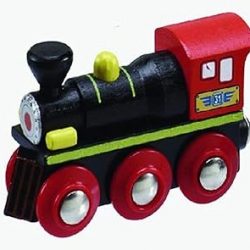
BRIO Old Steam Engine – Authentic Piston Action Toy | Ideal for Imaginative Play | Fully Compatible Wooden Railway Sets | Perfect for Ages 3+
View Detail... -

BRIO World – 33697 Speedy Bullet Train – Engaging 2-Piece Wooden Toy Train Set | Ideal for Kids Age 3+ | Enhances Motor Skills | Compatible Railway Toys | FSC Certified Materials
View Detail... -

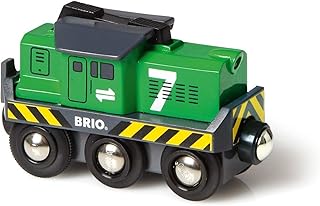
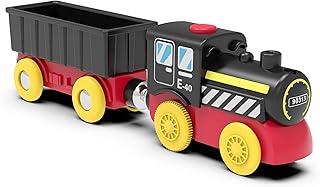
BRIO World 33214 – Freight Battery Engine – Engaging Wooden Toy Train Set for Kids Age 3 and Up | Battery Powered | Interactive Play | Ideal
View Detail... -

Bigjigs Rail Wooden CN Train – 1 Engine, 2 Carriages & 2 Track Pieces, Kids Train Toy Accessories, Toddler Railway Sets, Trains with Magnetic Couplings, for 3+ Year Old
View Detail... -

inc. Wooden Train Engine, Heritage Engine Locomotive for Toy Train, Compatible with Thomas & Friends, Brio Railway Set, Major Brand Wooden Train Set and Accessories, Black & Red
View Detail... -

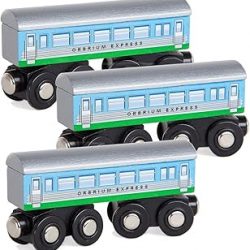
Orbrium Toys 3 Pcs Large Wooden Railway Express Coach Cars, Compatible with Thomas & Friends Push-Along The Tank Engine, Brio, Chuggington Wooden Train
View Detail... -

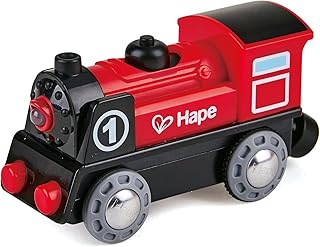
Hape Railway Battery Powered Train
View Detail... -

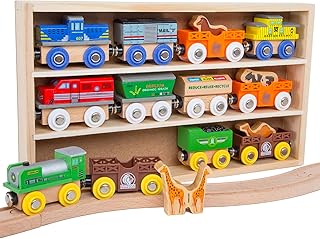
Orbrium Toys 12 (18 Pcs) Wooden Engines & Train Cars Collection with Animals, Farm Safari Zoo Wooden Animal Train Cars, Circus Wooden Train Compatible with Thomas, Brio, Chuggington
View Detail... -

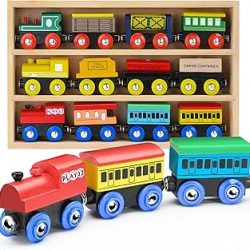
Wooden Train Set 12 PCS – Train Toys Magnetic Set Includes 3 Engines – Toy Train Sets For Kids Toddler Boys And Girls – Compatible With All Major Brands – Original – By Play22
View Detail... -

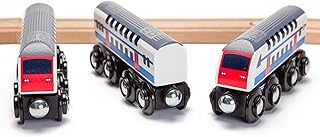
inc. Double Decker Wooden Train Set of 2 Engines & 1 Passenger Car, Multi-Level Commuter Transit Toy, Compatible with Thomas & Friends, BRIO, Other Major Brand Railways
View Detail... -

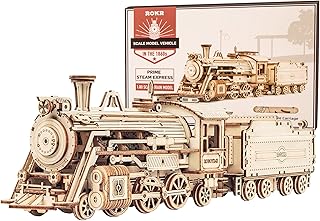
ROKR 3D Wooden Puzzle for Adults-Mechanical Train Model Kits-Brain Teaser Puzzles-Vehicle Building Kits-Unique Gift for Kids on Birthday/Christmas Day(1:80 Scale)(MC501-Prime Steam Express)
View Detail... -

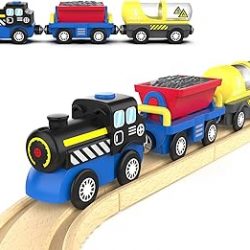
Giant bean Battery Operated Electric Locomotive Magnetic Train Set for Wooden Train Tracks, Powerful Engine Compatible with Most Brands, Wood Train Track Toys for Kids 3+
View Detail... -

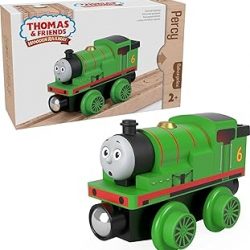
Thomas & Friends Wooden Railway Toy Train Percy Push-Along Wood Engine for Toddlers & Preschool Kids Ages 2+ Years (Amazon Exclusive)
View Detail... -

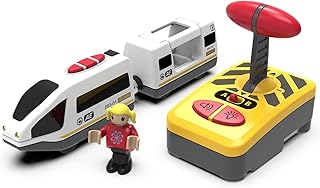
Wooden Train Set Accessories Battery Operated Locomotive Train, Remote Control Train Vehicles for Wood Tracks, Powerful Engine Train Cars Fits All Major Brands of Railway System (Battery Not Included)
View Detail... -

Train Accessories Battery Operated Locomotive Train, Engineering Train Fits All Train Set for Toddlers, Engine Powerful Train Toys for Wooden Railway System, Train for Kids
View Detail... -

Battery Operated Locomotive Train, Magnetic Trains Toy for Wooden Tracks, Motorized Train Compatible with Thomas, Brio, Chuggington, Melissa & Doug
View Detail... -

Motorized Train for Wooden Track, Remote Control Train with Magnetic Connection, Battery Operated Locomotive Trains for Toddlers, Compatible with Thomas, Brio, Chuggington
View Detail... -

Train Toys Battery Operated Locomotive Train for Wooden Track, Motorized Train for Toddlers with Magnetic Connection, Compatible with Thomas, Brio, Chuggington, Melissa and Doug
View Detail... -

SainSmart Jr. Wooden Train Set Accessories, Magnetic Toy Car Set (10 PCS), Compatible with All Major Brands, Gift for Toddlers, Boys, and Girls Aged 3+
View Detail... -

Battery Operated Train for Wooden Track, 3Pcs Motorized Train Toy for 3 4 5+Years Old Boy Girl Toddlers, Electric Trains Compatible with Thomas & Friends, Brio and Chuggington
View Detail... -

Battery Operated Train for Wooden Track, Motorized Train for Toddlers 3+ Years Old, 3Pcs Trains Toy Set Electric Trains Compatible with Thomas, Brio, Chuggington, Melissa and Doug
View Detail... -

Wooden Train Track Accessories Battery Operated Locomotive Train, Motorized Train for Toddlers with Magnetic Connection
View Detail... -

Electric Wooden Train Set with Magnetic Connectors – Battery-Powered Motorized Train for Toddlers & Kids | Compatible with Thomas Brio Tracks | Bullet Train Design Powerful Engine
View Detail... -

Train Toys for Wooden Train Tracks, Green Tank Battery Operated Locomotive with Magnetic Trains, Motorized Train Compatible with Thomas & Friends, Brio, Chuggington, Electric Train Sets for Kids
View Detail... -

Battat – Classic Trains – 6Pc Wooden Railroad Set – Magnetic Toy Trains – Train Engines & Cars – 3 Years + – Wooden Locomotives & Freight Cars
View Detail... -

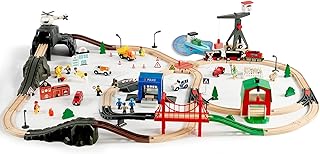
153pcs Wooden Train Set, Toy Train for Boys & Girls, 6 Themed Scenarios Wooden Train Track for Toddlers & Kids, Ideal Easter Birthday Gift Toy for Kids, Compatible with Major Brands
View Detail... -

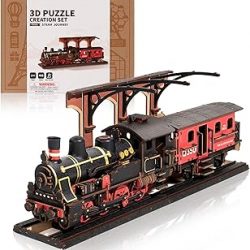
ROBOTIME 3D Puzzles for Adults Wooden Puzzle DIY Model Steampunk Train Kit to Build Wood Craft Kit Toy Hobby Gift Home Decor (Steam Journey)
View Detail...
How to make the Wooden Train Locomotive?: The involved options
Now let’s go to the first set of ideas, ideas to make your wooden train engine
Having the big picture in mind we can begin to think about the main parts of the train engine. To build the locomotive, the involved parts generally are:
-
-
-
- The Boiler
- The chimneys
- The baseplate
- The Wheels
- The Cab
- The Coupling
-
-
And the most common optional parts like:
-
-
-
- The cowcatcher
- The Bell
- The Locomotive Whistle
- Others
-
-
Then, you can first define which parts your locomotive will have.
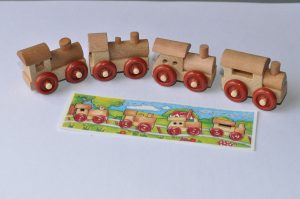
Let’s see some alternatives for each of the parts
The Locomotive base
The main function of the base is to keep all the parts together.
You can begin with a rectangle and cut some parts of it forming the desired shape on both front and back edges.
You can make the front flat, triangular, or cut it in the angle you like
.
When you decide the front shape, take into account if you will add a CowCatcher or not.
You can cut part of the back edge or leave it flat, but don’t forget leaving space back to the cabin for the coupling with the first wagon.
Another decision is whether you will make the wheels axles pass through the only single base, or the base is going to be composed of a part, superior that will secure the boiler and the Cab; and 1 or maybe 2 lower bases where the axles of the wheels will pass.
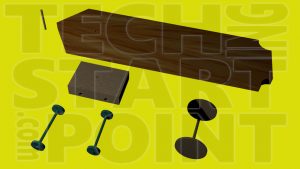
I mention 2 parts because you could decide to have a fixed lower base for the back wheels and a front lower base that rotates to take advantage of the ability to turn, especially in longer locomotives.
You must drill a hole for the axle of each wheel pairs. If you create wheels of different diameter, you should calculate the position of the holes to allow the base to be in a horizontal position.
The Boiler
The boiler is basically a cylinder that will adhere to the base, and that will hold the chimneys.
I present at least 3 alternatives for the Boiler.
As it will be a structure similar to a cylinder. You can achieve it with woodturning, generating a cylinder from solid wood.
Another way to make it is with putting several cylinders joined together. They may even have a small diameter variation giving the feeling of roughness especially if you use different types of wood or colors to generate contrast. It can even be done by joining several “wheels” on an axis. In case you use cylinders are of different sizes you can keep in mind that they may not be aligned centrally so that the smaller cylinders touch the base. You can also sand one side to make easier to fix it on the base.
Another alternative is to make it using prisms generally with bases that are pentagons or polygons of more sides (The more sides you have the more it will look like a cylinder)
The Cab
The cabin will be on the base back to the boiler.
You will basically have
-
-
-
- Front Panel
- Side panels
- Back Panel
- Roof
-
-
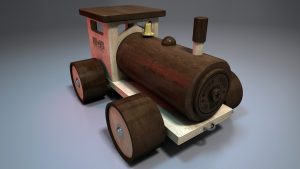
The options for the cabin can be as simple or complex as you want.
How to Make a Wooden Train Engine
If the locomotive is too small, you can design the cabin with a simple solid wooden cube, perhaps with some windows drawn on it.
Also, you can make and join each panel and the roof gluing them and using your preferred joints techniques, like dovetails joints, according to the sturdiness you need.
As for the roof, you can also decide to do it flat, or convex.
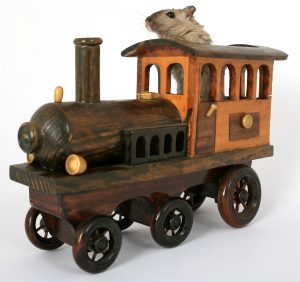
It is also possible that you ignore the front or back panel so that the locomotive driver can enter.
When planning the cabin space do not forget to leave space in the back of the base for coupling with the next wagon.
You can add the accessories you want, such as windows on the side panels, as a simple square, rounded windows, as well as adding frames or different colors.
The Chimneys
The chimneys can be one or several.
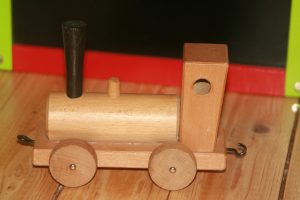
For the simplest cases, you can use simple vertical cylinders attached to the boiler
Or you could also make turning works as complex as you want.
When you think about the chimney you can also think about adding other optional accessories such as the locomotive whistle, the light or the bell that will join them to the boiler or the cabin.
The Locomotive Wheels
If you have a lathe, you can just use your lathe for making your wheels.
The first trains pulled by horses had wheels affixed to a straight axle, called Wheelset. The wheels of each wheelset rotate in unison. And surely this mechanism will be enough for your train toy. And again you will find several alternatives on this basis.
As the train is going to be driven by hand you have to consider that the union between the axle and the wheels supports the pressure of the hand making it move. So it would be convenient for the rod to pass through the center of the wheels (maybe adding some washer to the inner side)
The design alternatives will be from the simplest ones like a flat circle to more complex with rays on them. In the last case, you can draw the rays or add additional pieces.
You can also decide to have various wheels diameters according to their function
-
-
-
- Truck Wheels
- Rear and larger wheels.
- Drive Wheels
- Front, smaller
-
-
The axle of front wheels could pass through a separate rotating base, allowing the locomotive to take steeper curves especially if the locomotive is long.
You can think of alternatives for the type of wheels depending on whether you make a system of rails or slotted wood tracks.
For the rail scheme, the wheel will usually have a flange that you can achieve by adding at least one additional plate with a larger diameter at the center railroad side of the wheel.
If the train would be riding in grooves, they can be normal wheels, taking care that the gap between the width of the wheel and the width of the groove allows the movement both on the straight lines and the curves.
If you want to make the train on rails do not miss the section “Will my train take the curves?”
Another alternative is not to use axles, but rather make each wheel to roll independently, or simply glue them to the sides of the base if the train will only be used to being exposed. In the latter case, it would be easier to add Connecting rods and valve gear since they would not be functional but fixed and decorative.
Coupling
For the coupling, you will also have many alternatives … to mention only 3.
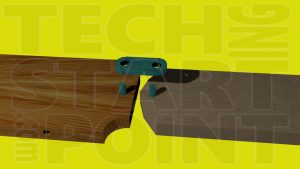
A simple option can be Drill a hole on the back of the base with a drill, to put a vertical dowel in stuck with glue. Do the same in the front and back of each wagon. To make the coupling create a simple piece with rounded corners with 2 holes of a bit larger diameter than the dowel. And pass both dowels of contiguous wagons in the 2 holes of the new piece.
Another similar alternative is to put the dowel in the back side of the base of the wagons and locomotive and set a hole in the front for the wagon’s bases. In this case,
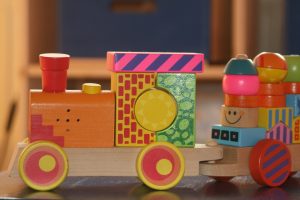
you should make the front part of the base higher than the back side to make them match. A simple way to solve the height difference is to make each wagon have a lower base and a higher one, then the dowel would be in the back of the lower base and the hole in the front of the upper base what would solve in a simple way the height difference needed. This approach has the advantage of not having loose parts.
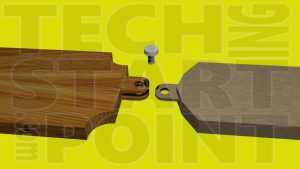
Still, another alternative a little more complex that requires a little more precision is in the back of the locomotive and of each car add 2 parallel tabs with a small separation between them (one upper and one lower). At the front of each car, a tab that is at a height that fits between the 2 rear tabs of the preceding wagon. The union is made with a third piece that is a vertical dowel that passes through the 3 holes and has a head on its upper part.
If the train is going to run on a track consider that the length of the couplings is enough for the wagons to take the curves
Locomotive Front – Cow Catcher
Generally, the front of the locomotive has a CowCatcher.
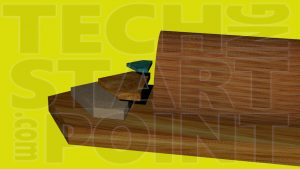
The alternatives of the cowcatcher can be
-
-
-
- a simple horizontal plane transverse to the base
- Several forms like different sizes triangles joined in a staggered way
- a more complex structure in the front
-
-
You can make the structure as complex as your imagination allows combined with your desire. But always remember that you should keep conceptual integrity with the rest of the design.
How to make the Wooden Train Wagons?: The involved options
The wagons will be composed of
-
-
-
- Base
- Coupling
- Wheels
- A lot of diversity at the top
-
-
In all cases, the wagons should have front and rear space for the coupling.
Unlike the locomotive, the 4 wheels would be the same size, but the same precaution as the locomotive must be applied so that they can take the curves on the rails or grooves.
The base of the wagon could also be unique or have an upper base and one or 2 lower bases where the axles of the wheels pass.
As for the top, your imagination can fly much more.
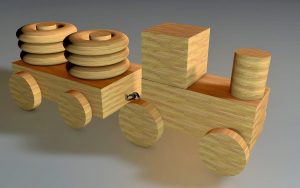
Among the alternatives may be
-
-
-
- simple boxes opened at the top:
- in this case, at least one of the sides should be low enough to allow charge and discharge the merchandise.
- They can be filled with smaller elements if appropriate for the age of the users.
- Simply the base
- Base with vertical rods in the vertices:
- This type of wagons can be used to transport wooden or metal bars and tie them to be transported.
- Cabins
- With a flat or convex roof
- With windows.
- They will generally have doors or at least one side open.
- simple boxes opened at the top:
-
-
In the case of windows and doors, they can be simply paintings of real openings.
You can also decide according to the sturdiness you need how to join the side parts of the wagons. For a more solid work, you could join them for example with dovetail joints.
Make your own Wooden Train
I hope you have found several alternatives. I encourage to think about your alternatives, depending on the woodworking tools you already know how to use, or the woodworker skills you already have. Also, you can assume some challenges and achieve the goal to create for you and your family, your first train thanks to woodworking, you own Wood Train. Congratulations!!!!!!!!!
You may also like…
Despite you are a novice, an expert or only anxious, here it is the selection of BOOKS with awesome woodworking projects to do in a short time
Consider which are the woodworking tools you want to get to build the workshop of your dreams.
You will appreciate the ingenious wooden characters toys, merchandise and the preferred quotes you can get for all Trekkies
You as a Chef or as a Woodworker have a deeply creative activity. When wood and kitchen come together creativity is enhanced. Find wood toys, furniture, accessories and much more.
You can find a sample of a simple train locomotive in
