
In this article, I’ve prepared more than 9 woodworking ideas you should consider before starting with any DIY about How to make Wooden Train Tracks and Layouts. This is the third article of the series “How to Make your Wooden Train Set? : Choose your Options”.
The main steps you will follow to build your own tracks and layouts generally will be:
- Define the approach of your tracks between rails or grooves
- Define how to make the sleepers
- Check the train running in curves
- Choose between a fixed or configurable layout
- On configurable layout define the strategy to join the tracks
- Choose the elevation strategy
- Define the additional accessories
This is the third article of the series and covers general topics putting the focus on the big picture.
Other articles are:
- How to Make your Wooden Train Set? : Choose your Options
- How to Make a Wooden Train Engine and Wagons: Choosing your own options.
- How to make a Wooden Train Whistle and a Wooden Train Table? : Choosing your Options
If you prefer products to buy…
More Wooden Train Tracks…
Toy Train Set Tracks Category
No Wooden Train Tracks
How to make Wooden Train Tracks: Choose your Alternatives
The tracks or the simulation of them will be the path through which your train will travel.
Something you can consider is if you are going to combine your train with some of the products that are in the market.
In that case, to make it compatible with your preferred brands, you should take into consideration the dimension, width of the grooves or the rails, the maximum angle of the curves, the size of the wagons, and other standards of the brands with which you expect to combine your train. This will allow you to have the freedom to build some elements and to buy others if you prefer. Or to extend your train set with other elements that you are not willing to do yourself.
But beyond the standards, we will have 2 main alternatives for the tracks.
-
- Rails like the traditional trains
- Slotted Tracks
Traditional rails.
A simple way of making the traditional rails is to use two plywood sheets, thin enough to be flexible as rails and join them with evenly distributed spacers, as sleepers elements that separate the rails forming two parallel lines even in the curves. The model will be finished having rails higher than the usual proportions for the actual railways but it would be an acceptable functional model for beginners.
Another option is to use rails over a set of rectangular cut sleepers giving the appearance and proportions of real railways. In some cases, some woodworkers, glue them on a base and add jagged bits of stones between the sleepers evenly spaced across the base.
You also can use any other material that simulates grass, or simply paint the base using the colors you prefer.
You could use different wood and color for the sleepers for generating a more realistic finishing.
Slotted Tracks
One option is to have single wide horizontal slot into which the entire train runs, in which the edges of the large unique slot prevent the train from turning sideways. You also have to take care that the width is enough for the formation to take the curves.
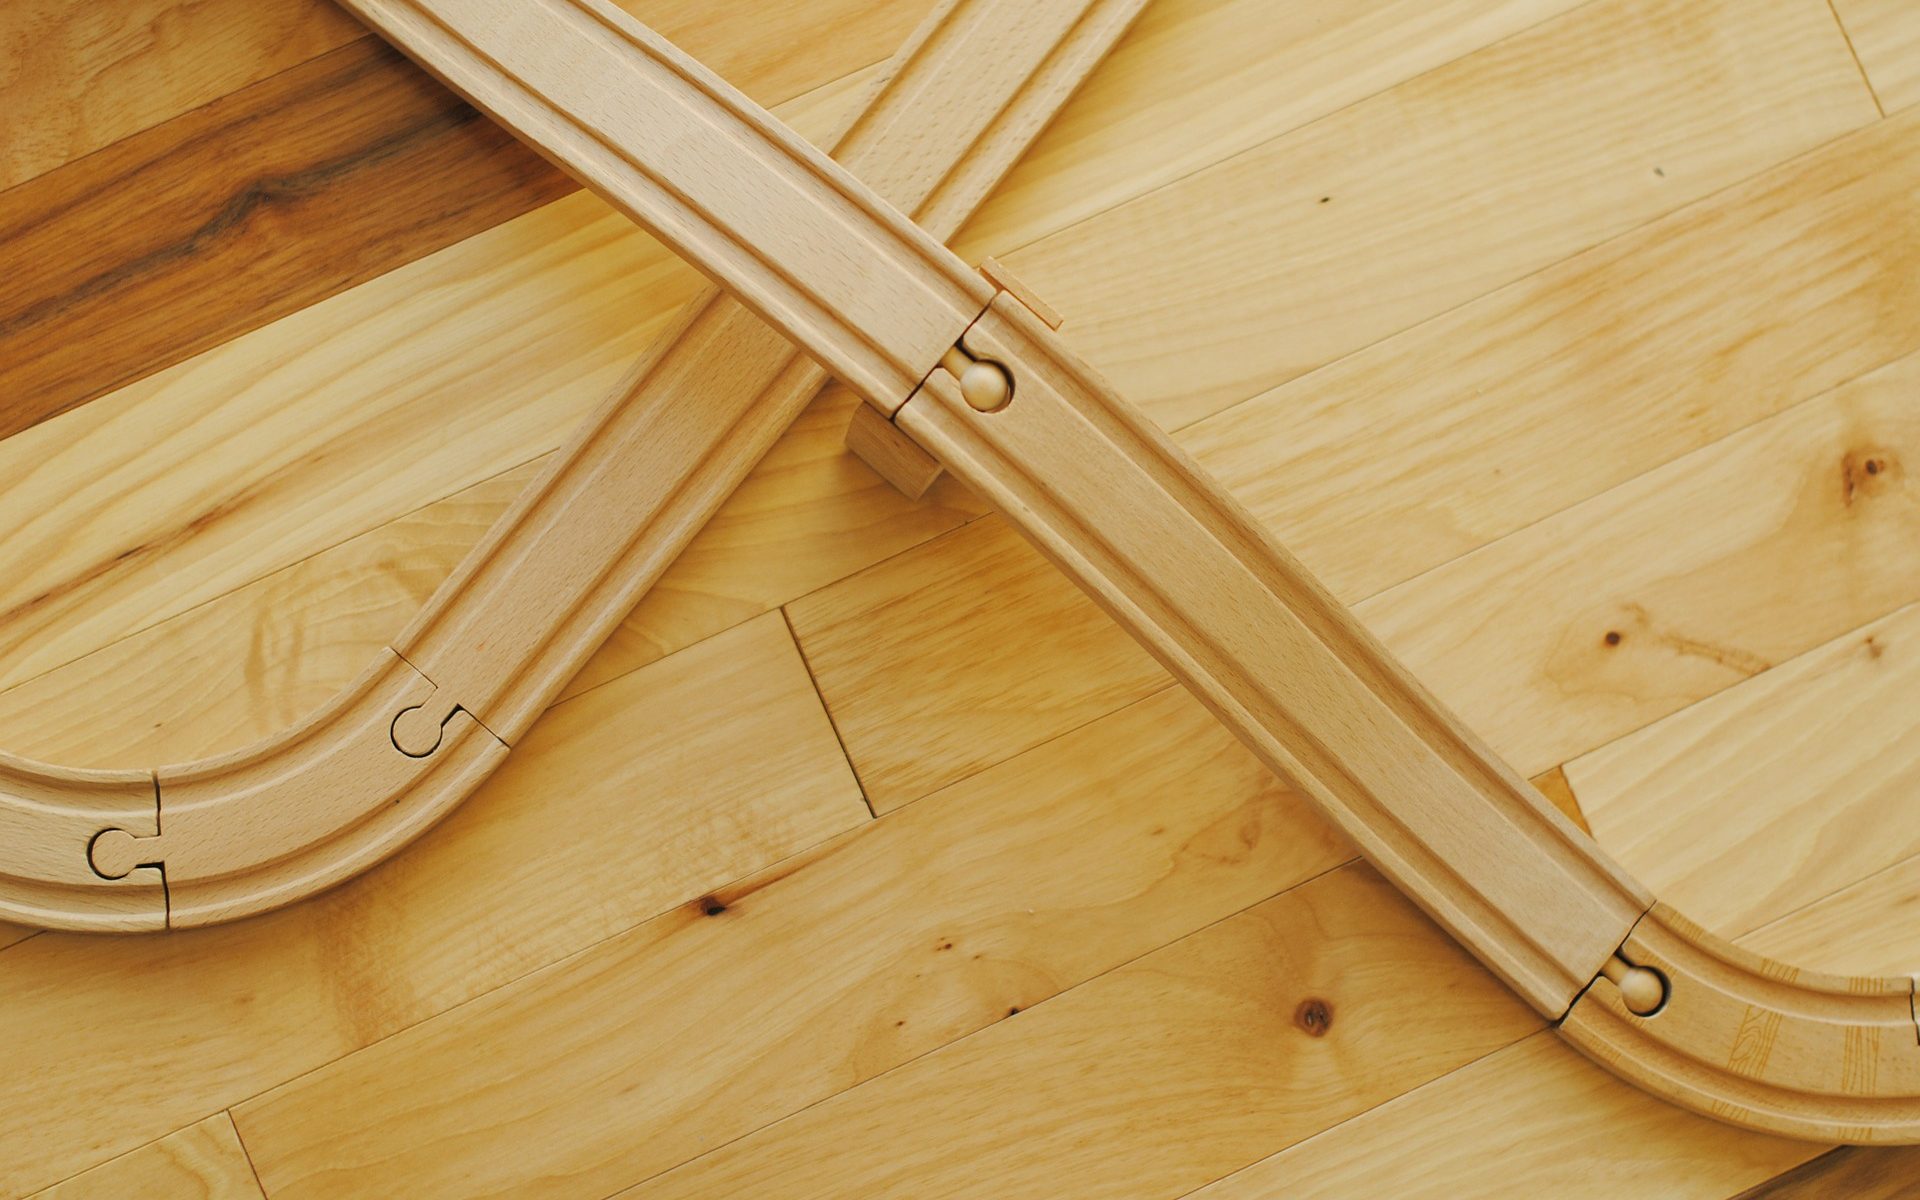
The second option is to have a flat base with two parallel grooves, through which the wheels go, or just the flange of the wheels. This approach is used by many brands of commercial wooden train toys.
In both cases, it will be necessary to consider that the grooves width is enough to allow the movement of the locomotive and wagons both in the straight lines and in the curves
The grooves can be made using the appropriate Router Bits .
Consider that any lack of realism can be compensated with paint or imagination.
How to Make the Train Rail Layout: Choosing your options
Now that you know what types of rails you want, you are ready to define the layout, which will have the complete path where the train(s) will be able to travel.
Your layout will include not only the shape but the curves, bridges, crosses, bifurcations or even in some cases railroad switches.
You can also decide the accessories, the color, the materials that you will add to the roads, such as train stations, bridges, grass, stones, mountains, trees or in some cases to paint a river.
The main structural definition of your layout is whether it will be fixed or configurable. That is if you will be able to change your layout later or not.
Your Own Configurable Layout
You must make a set of base individual train track pieces that fit each other letting you define endless layouts. Generally, you will have some straight tracks in various lengths, long and short curved tracks, ascending and descending tracks, bridges, tunnels, intersection tracks, railway crossings, turntables. From each of these pieces, you will make several according to the circuits that you want to assemble.
In the case of curves, you should measure that the angle that is formed in each curved track between end connectors, should be a 360-degree divider. If we build 90-degree curved tracks we need 4 of them to build a circle … If it is 60 degrees, we would need 6 curved tracks. That will allow assembling closed layouts.
As for the ascending and descending tracks, the connector should coincide in a horizontal plane with the other connecting element. It is also convenient to add solid columns under the joints that are in an elevated plane so that the weight of the wagon or the pressure of the hand does not destroy the railway.

Regarding the method to joint the tracks could vary depending on the type of tracks:
-
-
-
- For rails without base
- For rails with base
- For the scheme of grooves
-
-
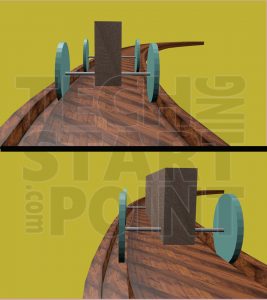
How to Make Wooden Rails Joints (Without Base)
One way to solve this issue is:
-
-
-
- To build the railways
- There is a set of parallel sleepers
- Over the extreme of the sleepers glue two long flat rods set horizontally
- On the sides, glue vertically flat rods with the upper part higher, The upper part of those rods will be in contact with the wheels of the train.
- To build the railways
-
-
Build them following these requirements
-
-
-
- About the first sleeper of each track piece:
- The horizontal rod stuck on it will reach only half the width of the sleeper
- The vertical rod that includes it will extend a bit more ahead (around the distance between sleepers)
- About the last sleeper of each track piece:
- The horizontal rod will extend a bit more (around the distances between sleepers). Part of the rod will remain in the air and when jointed will be over the half width of the next sleeper.
- The vertical rod that includes it will only reach the full width of the last sleeper and no more.
- About the first sleeper of each track piece:
-
-
Then looking at the element from front to back, the parts will appear in the following order

-
-
-
- Vertical Rod
- Sleeper
- Horizontal Rod
- then follow a sequence of sleepers at the middle of the track, joined using the horizontal and vertical rods.
- Sleeper and Vertical rod
- Horizontal Rod
-
-
Once you have 2 of those tracks, you can add two tabs (the same width as the vertical rods) to the rear vertical rods. These tabs are glued on the outside of the vertical rods, and their length reaches to equal the length of the horizontal rods.
2 tracks can be joined when the excess of the length of the vertical front rods matches with the vertical rods of the rear one, both inside the tabs, and causing the excess of the horizontal rods to lay over the half of the sleeper of the next track.
How to Make Wooden Rails Joints (With Base)
When having a base, both the traditional rail tracks and the slotted tracks with grooves scheme, which will naturally use the base to connect the tracks.
And in those cases, you can use the joint you prefer, such as
-
-
-
-
-
- Dovetail joint
- Mortise and tenon
- Biscuit joint.
-
-
-
-
There are also specific Router Bits that specialized in making the type of joints commercial brands use.
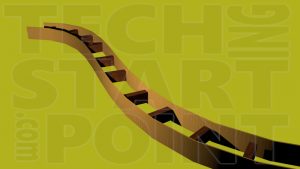
Ascending and Descending Tracks.
If you want to have some elevated sections, plan to put the columns that raise it, exactly below the connections, to have a firmer structure and avoid the weight of the train (or the hand of the giant that moves it) do not destroy the railway.
You could also make elements that make the joints firmer, but generally the solid columns under the joints is the firmest solution.
Train Tracks on a fixed layout
If you decide to use a fixed layout, it would be essential to design and draw the plan in real size first. The fixed layout avoids the task of creating the individual tracks and the connection system.
In the case of the fixed ones, you can decide whether to do it with rails or with grooves. And if you decide to do it with grooves and use a table or a board, you could make the grooves directly on the board. Normally a router is used for that task.
In some cases, although the routes are configurable, some choose to glue and set a configurable structure to the board or table where the railway will be and have a fixed layout for your railway.
This solution is reasonable if you purchase the tracks. If you build your own tracks it would not have made sense for each section to make the connection schema.
But it is seriously recommended to check if you actually want to make a fixed layout for your children as most times is part of playing with the train and leave fly their imagination to change again and again the layout. Many children that enjoy fixed layouts when visiting public places, get bored with a fixed layout at their homes.
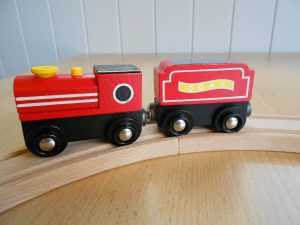
How to ensure my Wooden Train will take the curves?
When assembling the roads you basically have 3 alternatives.
- They are rails united with sleepers, as the traditional rails
- You have a flat wooden base with two grooves where the wheels pass.
- A unique channel wider than the train with higher edges.
In any of the 3 cases, it is important for the project to be viable taking into account the following measures. (always keeping in mind that it is a toy and not a model)
- About the wheel system
- The maximum distance between the back and front wheel of each element (wagons and locomotive)
- Fixed or rotating base for the axles of the front wheels
- The gap between the axes of the wheels and the hole where they pass
- Length of the axes (or distance between corresponding side wheels) -> would correspond to the separation of the rails.
- Use of wheel flange, it is important the diameter of the wheels and angle of the steeper curves (especially for traditional rails)
- About the coupling
- Length of the coupling between locomotive and wagons and between wagons.
- About the layout of the railway
- The maximum angle of the curves
- The maximum angle of the elevations
- The Groove width
Make sure that these measures allow the train to travel through the steepest curves.
The idea is to present models of the elements in the steepest curves before the final construction.
The gap that exists between the grooves width and the wheel width and the length of the locomotive or wagons. (at least the distance between the front and rear wheels) should allow the wheels to remain inside the channel even in the most closed curve.
Another thing that contributes to this relationship will be the gap that exists between the axes and the holes on the base of the locomotive and wagons. That gap will allow the wheels to take an additional angle in the curves.
Another alternative to giving even more flexibility if you decide to make a longer locomotive is to have a rolling base for the front wheels, making the system more flexible by allowing the front and rear wheels are not always aligned.
In some cases, you can also decide to use flanged wheels by adding an internal disk of a larger diameter that prevents the wheels from going off rails at a turn.
In the case of toys (especially when we have a giant baby who pushes it with pressure with his hand) … this difference is compensated by a slight slide of some of its wheels.
You may also like…

Despite you are a novice, an expert or only anxious, here it is the selection of BOOKS with awesome woodworking projects to do in a short time
Consider which are the woodworking tools you want to get to build the workshop of your dreams.

You will appreciate the ingenious wooden characters toys, merchandise and the preferred quotes you can get for all Trekkies
You as a Chef or as a Woodworker have a deeply creative activity. When wood and kitchen come together creativity is enhanced. Find wood toys, furniture, accessories and much more.
Look at this simple video I found with a simple idea to make train tracks