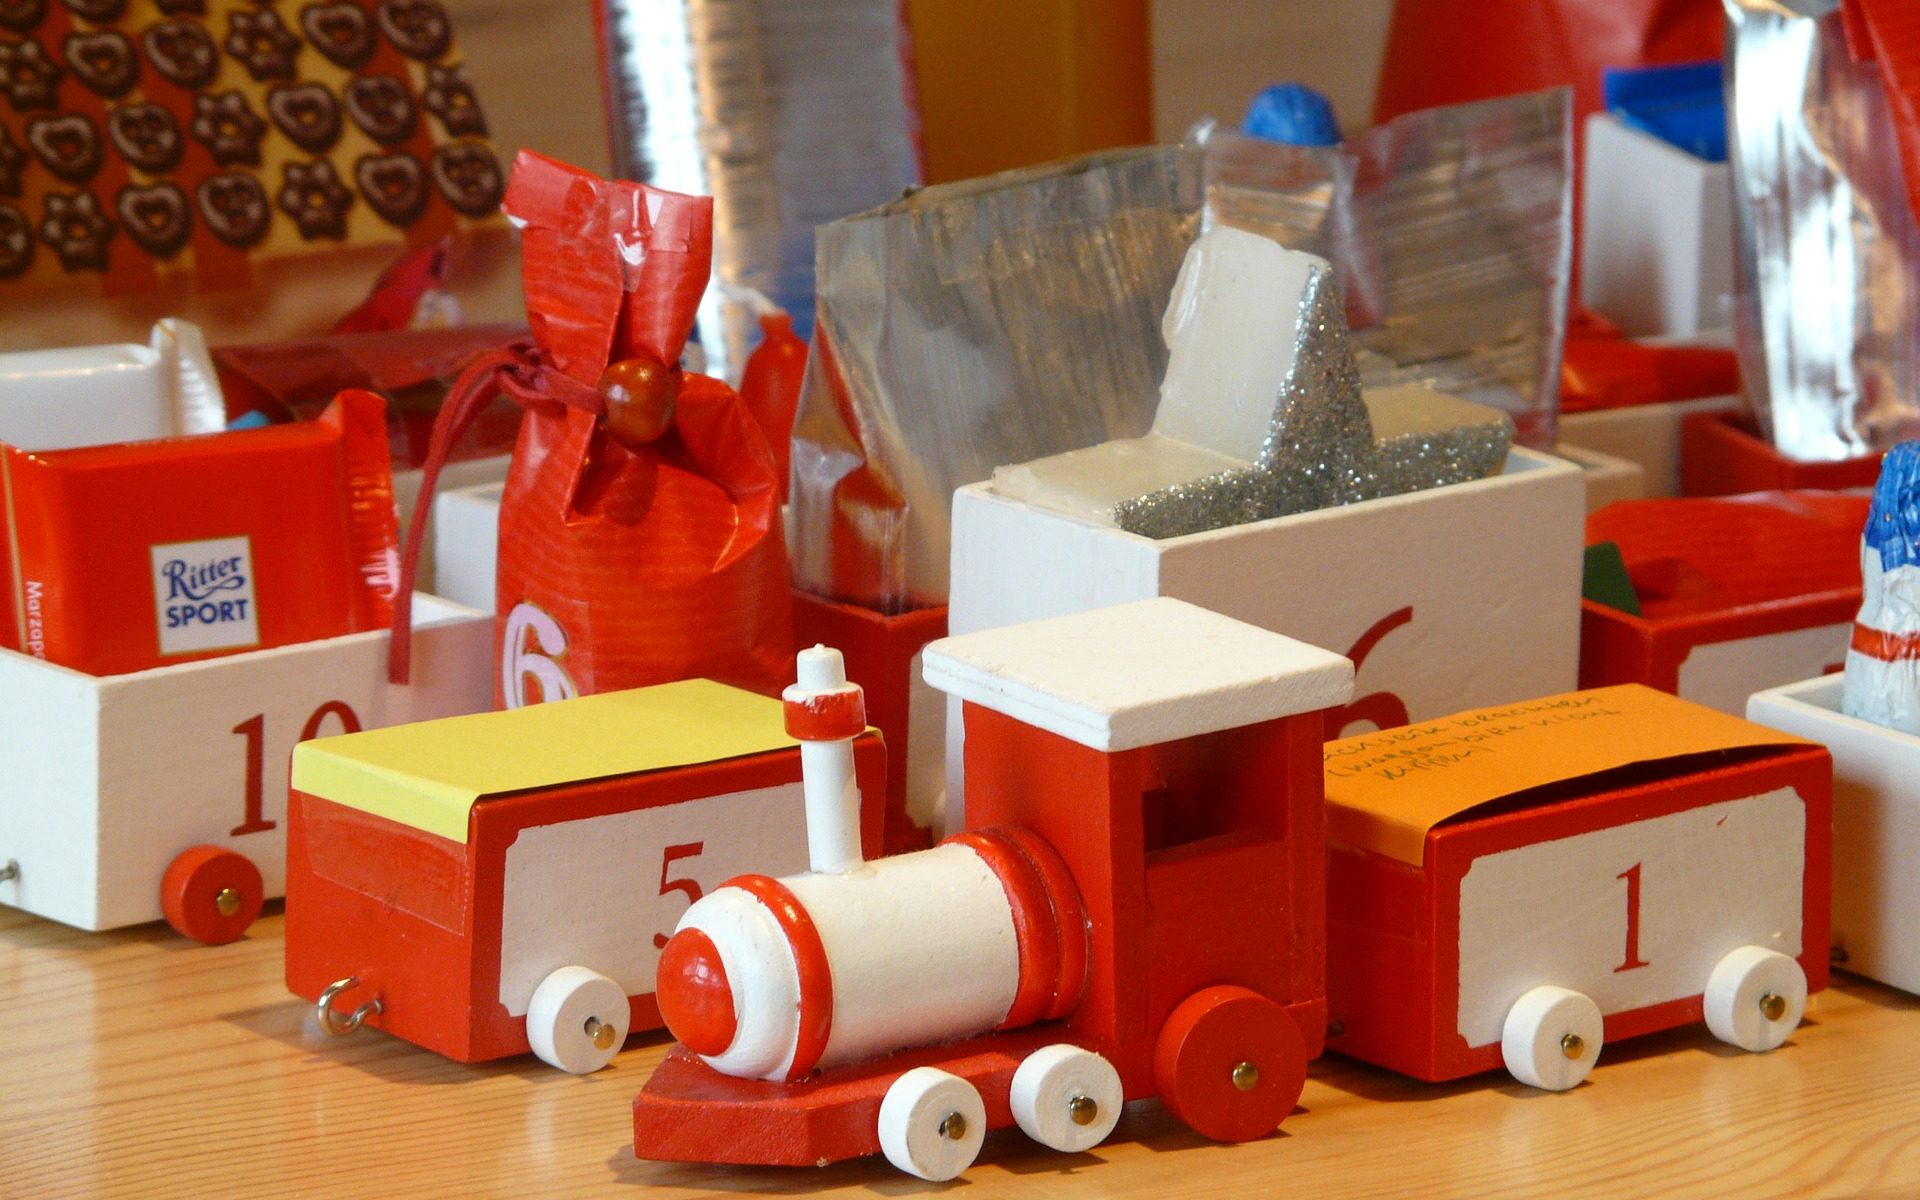
This series of articles will put in front of you numerous alternatives to let your imagination fly without limitations between you and your next wooden train set. As in any creative process, you begin having the desire and then, visualizing the train you want.
Before trying to begin any DIY or Tutorial it’s very good to know several alternatives on
- How to make the Wooden Train Engine
- How to make the Wooden Train Wagons
- How to make the Wooden Train Tracks and Layout
- How to Make the Wooden Train Table
- How to Make the Wooden Train Whistle
This is the first article of the series, and it covers general topics putting the focus on the big picture.
Next articles will be:
- How to Make a Wooden Train Engine and Wagons: Choosing your own options.
- How to Make Wooden Train Tracks and Layouts? : Choosing your Options.
- How to make a Wooden Train Whistle and a Wooden Train Table? : Choosing your Options
They present a lot of alternatives to think on before following your preferred DIY or Tutorial.
… if you prefer to buy it follow the link
-

Wooden Train Set 12 PCS – Train Toys Magnetic Set Includes 3 Engines – Toy Train Sets For Kids Toddler Boys And Girls – Compatible With All Major Brands – Original – By Play22
View Detail... -

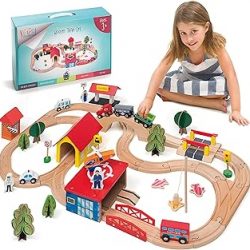
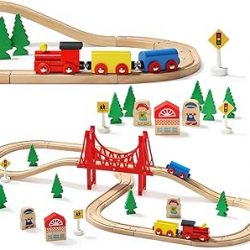
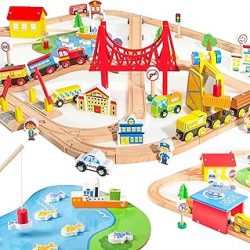
153pcs Wooden Train Set, Toy Train for Boys & Girls, 6 Themed Scenarios Wooden Train Track for Toddlers & Kids, Ideal Easter Birthday Gift Toy for Kids, Compatible with Major Brands
View Detail... -

KidKraft Bucket Top Mountain Train Set with 61 Pieces, Magnetic Train, Wooden Tracks and Storage, Gift for Ages 3+
View Detail... -

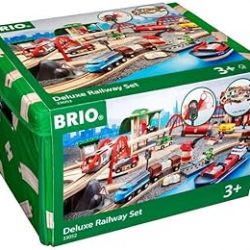
BRIO World 33052 Deluxe Railway Set | Comprehensive Wooden Train Toy Set for Kids Age 3 and Up | FSC Certified Eco-Friendly Toy | Exciting Harbor and Metro Scenes
View Detail... -

Orbrium Toys 52 Pcs Deluxe Wooden Train Set with 3 Destinations Fits Thomas, Brio, Chuggington, Melissa and Doug, Imaginarium Wooden Train
View Detail... -

Melissa & Doug Wooden Magnetic Train Cars – 8 Piece Educational and Skill-Building Wooden Toy for Boys and Girls Magnetic Train, For Toddlers And Kids Ages 3+
View Detail... -

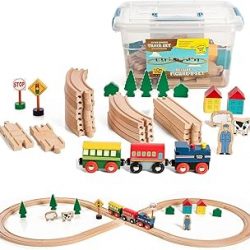
Wooden Train Set 35 Piece All in One Wooden Toy Train Tracks Set with Magnetic Trains and Railway Accessories, Comes in A Clear Container, Compatible with All Major Brands
View Detail... -

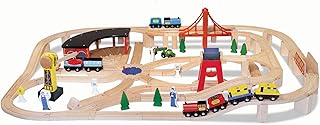
Melissa & Doug Wooden Railway Set, 130 Pieces – Wooden Train Set for Toddlers Ages 3+
View Detail... -

Wooden Train Set – 69 Pieces Wooden Train Tracks & Trains for Kids, Toddler Boys and Girls 3,4,5 Years Old and Up– Premium Wood Construction Toys -Fits Thomas, Brio, IKEA, Melissa and Doug
View Detail... -

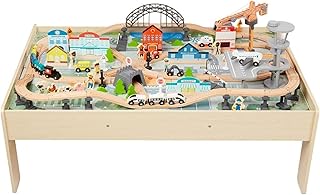
Amazon Basics 120 Piece Wooden Train Set and Table-kids Gift for Age 3Y+, Multi, Product dimensions: 47.4 x 33.46 x 16.14 inches
View Detail... -

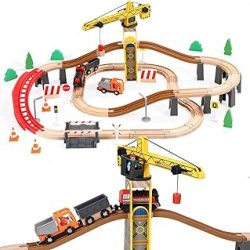
Giant bean 72PCS Tower Crane Wooden Train Set, Battery Operated Electric Train Track for Boys and Girls 3-7, Christmas Birthday Toy Gift
View Detail... -

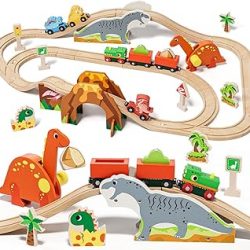
Lehoo Castle Wooden Train Set, Dinosaur Wooden Train Track Set, Wood Toy Train Set for Toddlers 2-4, Train Toys for Toddlers 3-5, Fits Thomas, Fits Brio, Fits Melissa and Doug
View Detail... -

SainSmart Jr. Wooden Train Set – Interactive Police Playset for Kids | Building Toy with Train, Figures & Accessories | Compatible with Brio, Thomas, Melissa and Doug | Educational STEM Gift (Village)
View Detail... -

110PCS Wooden Train Set – Urban Journey, City Scene Railway Set with Magnetic Trains, Cars, Helicopter & Ship, Perfect Christmas Birthday Toy Gift for Kids Toddlers Boys Girls Ages 3-8
View Detail... -

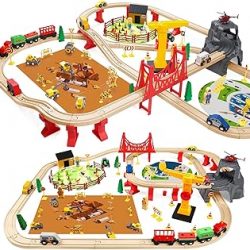
86pcs Wooden Train Set with Crane, Wooden Train Track Set Railway Kits Fits Thomas Brio IKEA Melissa and Doug, Christmas Train Toys for Kids & Toddlers 3-5 Years Old Boys and Girls
View Detail... -

118Pcs Wooden Train Set for Kids & Toddlers, Wood Train Track Set Train Railway Accessories Toy Train Sets for Boys and Girls Gifts Ages 3+ 4 5 6 7 8 – Compatible with All Major Brands
View Detail...
Before Building your Wooden Train Set
I’ve investigated alternatives to consider when creating the various elements of a wooden train, especially aspiring to generate content in ofwoodworking that does not have a commercial purpose but to provide genuinely valuable information for lovers of wooden trains. And it’s absolutely a fascinating world.
The first step is a brainstorming, a space where you let your ideas flow, where you combine your passion with your dreams, and where you start to imagine the finished photograph before you know it. You can see it as the start of an inspiring and challenging hobby, an activity with which you can make money in the future or as an excuse to play or participate in a creative process, teaching and play with your family and loved ones.
And at this exciting time, the big thing is to go down from dreams to reality and further to know what can be done, depending on the woodworking tools you have, space, the time, your skills and the challenges whatever you want to face.
The importance of knowing alternatives
That is why I am convinced that diversity plays an essential role in this stage. Diversity has to do with several aspects, such as plans for beginners or intermediates; styles; different plans according to the use that you are going to give, either as an element of decor, a single toy, for to exhibit, or part of a growing model without limits.
And as a result of the investigation I did, I bring you a lot of ideas, of different projects, plans, models, on which others have already been succeeded.
I understand this is the essential initial step before following any tutorial or DIY about any part of the train set, both to select the tutorial that you decide to follow as to set your particular touch and encourage you to make some variations on the plans and models you find.
The goal is not that you follow any of them, or that you do not follow them, but that according to your own abilities you take from each one what you think is suitable for you, your family, the wooden train set that identifies you at this stage, that train set that you will remember forever as being uniquely yours.
Main parts of your train set
To begin with, I’m going to list the parts of a wooden train set that are commonly thought of.
Then, to build your train set you should think about:
- The wooden train track
- The wooden train table and layout
- The wooden train engine
- The wooden train wagons
- The wooden train whistle
I don’t specify the cap because you can purchase it.
You can go through this list along with your vision in the order you prefer.
Already this list is a basis for the decision that faces you to many questions, as far as whether you are going to expand your train set; like what space and function it will occupy in your home; which of these elements you will make and which ones you would prefer to buy done. Obviously, nothing is definitive and with such creative toys that consist of so many parts, they are actually an alive model in which you can decide again and change again and again.
Therefore, I recommend not to start building until you read the entire article. The objective is to propose a set of alternatives. I consider that starting with one of the many step-by-step guides would be skipping this essential previous start and setting boundaries to your imagination and unnecessarily limiting what you are capable of reaching.
That’s why I consider this article as the step -1 for any wooden train set plan that you want to build. I am presenting on it several ideas and alternatives that complement each other.
In this -1 step you are going to materialize “in your mind” the final model that you want, arising ideas and alternatives that will allow you, whatever DIY plan you follow, to give your personal touch, and to create YOUR OWN TRAIN SET, your own art.
The Big Picture: Identifying general alternatives of your wooden train set
Focusing on the big picture, the first alternatives that emerge about the train set are:
-
- Is it for exhibition or decoration or to play?
- Should children use it?
- What about the dimensions of the train set?
- Should be all parts made by you or should it be combined with bought pieces or elements?
- For what ages will its use be enabled?
It also may be a wood time, sorry, a good time to decide if the train will run over tracks or not.
Alternatives on Drawing and pieces
Like in any woodworking project, we can begin with
-
-
-
- drawing the design
- identifying the pieces on it
- deciding which materials will be used
-
-
These steps apply to each of the parts we will produce.
Early in this stage you already have alternatives to choose like.
-
-
-
- 3D software like Sketchup or Blender
- 2D tool to draw your plan and the pieces you think you will need
- pen and a piece of paper
- Any combination of them
-
-
But it is the first step to bring the model to reality, to avoid facing impracticable steps in later stages.
As you give more detail to this design you can identify the parts that you will have to prepare to build your wooden train set. You can also think about the variety of wood you will use, or if you use different species of wood to make a contrast between the parts.
Safety for the wooden train toy set
Safety is a big topic when building toys.
More than applying a few standard rules you should think about who will use this train (or who will want to use it when you see it).
Not all toys are for all ages. Especially the smallest pieces that can be disassembled that can be detached if it is forced are not suitable for younger children.
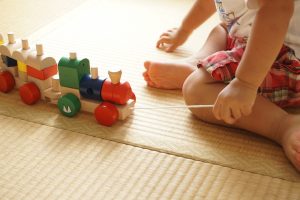
Toys can be built with a wide diversity of woods. Some of the most common woods for making toys are walnut, poplar, ash, beech, maple, Basswood, pine, Spruce-Fir, and birch. Depending on the type of toys, each one has some advantages over the other. Wooden Toys must be of good quality wood, sturdy and firm wood. They should be made to solid wood construction.
The glue should be inaccessible and glue joints must be very fine.
It is also important to use child-safe non-toxic paint or varnish generally water based.
You surely should double check the specific recommended standards for the specific toy you are building.
Sharp or splintered edges on wooden toys should be sanded smooth. It would not be good to be hurt with splinters or with too sharp edges.
And before beginning, let’s review some awesome information about real trains…
Engine or Locomotive?
Do you know why some people use the word engine and some other use locomotive?
We recognize Locomotion as the act of moving from one place to another.
On the other hand, Locomotive, intimately related with Locomotion involves 4 main features:
-
-
-
- a self-propelled vehicle
- runs on rails
- produces motion using any of several forms of energy
- is used for moving railroad cars
-
-
While we understand Engine as that part of the locomotive that makes it move, The steam engine was used during a long time in a variety of duties before locomotives. And when the steam engine started being used to make wheeled vehicles move along tracks, the locomotive was just a kind of engine whose work was to move itself and other vehicles.
Being a shorter word, easier to say than ‘locomotive’, “engine” has been used commonly as a locomotive synonym.
How do train wheels turn?
Since the rails are parallel, in the section of the curves the outer wheel has to travel more distance than the inner wheel. But the wheels are of the same diameter and fixed to a single axle. As the single fixed axle rotates both wheels in unison, how they can travel different distances? Real trains (not toys) long ago found the solution to achieve the curves for wheels.
The primary means of keeping the train’s motion aligned with the track is that most train wheels have a conical geometry. They are not perfect cylinders. Then the diameter of the part of the wheel that is in touch with the rail is slightly different and allows the inner wheel to travel less than the outer wheel.
Generally, on toys that are operated by the pressure of the hand, the wheel has a displacement during some instants instead of rolling.
That conical shape and diameter difference allows the train to accommodate and compensate the distance each wheel travels.
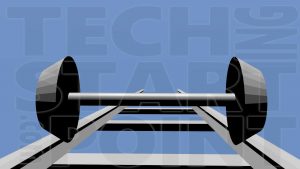
Actually, the rails also have a slight corresponding angle, which allows that in the curves, although the axle rotates in the same way to the 2 wheels, the part of the wheel that is in contact with the rail travels different distances.
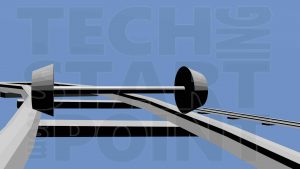
In cases where the wheel is cylindrical, they will have more friction and the flanges are essential to keep the train on the rail track.
Conclusion
In this article, I presented some general alternatives when making your Wooden Train Set. In the next articles of the series, you will discover alternatives on each of the parts of your own train set. The next article is about options making the Wooden Train Engine and Wagons. Enjoy it!!!!
You may also like…
Despite you are a novice, an expert or only anxious, here it is the selection of BOOKS with awesome woodworking projects to do in a short time
Consider which are the woodworking tools you want to get to build the workshop of your dreams.
You will appreciate the ingenious wooden characters toys, merchandise and the preferred quotes you can get for all Trekkies
You as a Chef or as a Woodworker have a deeply creative activity. When wood and kitchen come together creativity is enhanced. Find wood toys, furniture, accessories and much more.





Nice one..helped a lot ! tq !!
Thanks for visiting ofwoodworking.
Oh good ! nice one !!